 I'm going to join the Trash to Treasure Tuesday party at Kimm's, and show you a project I did for Teacher Appreciation Week. I signed up to decorate the teacher lunchroom at our school (I've learned to volunteer for PTO projects I enjoy doing - decorating, yes, planning, not so much).
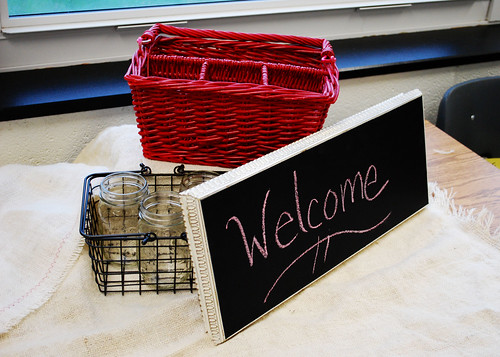
Our PTO and parents serve breakfast to the teachers on Wednesday morning, lunch Thursday, and desserts on Friday. We like to decorate the room to make it a little more special. I had the idea to put chalk boards in there (isn't it funny that schools don't have those anymore?! Even dry erase boards aren't used as much because of SmartBoards ... I digress).
 I found my inspiration for the chalkboard here, at LuLu & Co. , when I saw this photo. I like to use sunflowers for parties, and I like how this whole setup looked. I was even going to buy lemons, but by the time I got to that, I had spent too much money and didn't want to fork over another $5.00.
 I went to the thrift store in hopes that I would get lucky and find a frame like LuLu's, but this is the only thing I could find. Just a couple bucks, no problem. I'll make it work. It had a couple gouges on the front, so I patched them with spackle and sanded them smooth.
 Then I re-painted the sides gold (I didn't like the cheap gold paint that was already on it) and after that I painted the entire thing white (I like to use heirloom white spray paint with satin finish).
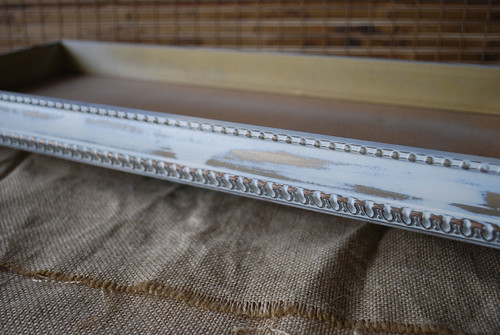 When it was dry, I rubbed down the top layer of paint with steel wool. I use sand paper on the corners where I really want it worn down good, but I generally like to use steel wool because it is gentle and lets the layers of paint colors show through.
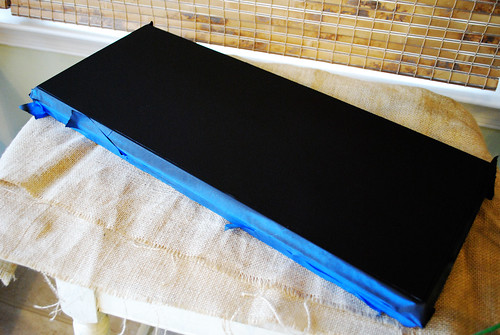 I taped off the sides and painted a couple coats of chalk board paint.
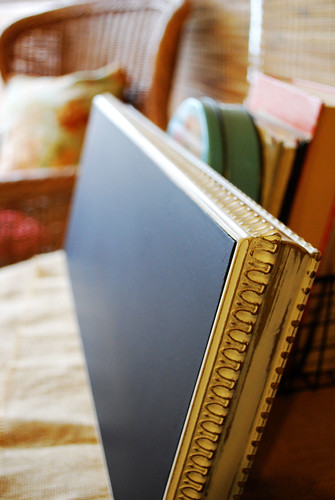 Voila!
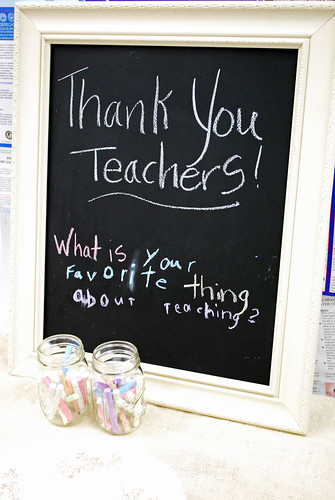 For the second chalk board, I had an old picture frame we had in the garage. The glass had broken and there was no backing, and Mr. Jones was going to throw it away. Ooops, I don't think so.
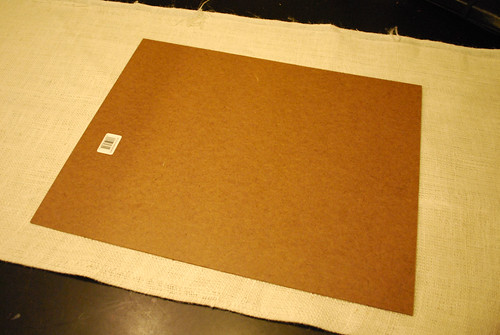 I went to The Home Depot, and in the lumber department they had this cheap, $3.00 board. I marched it over to the cutting center and had the guy cut it to fit my frame. 2 cuts are free. That's all I needed.
I learned something new on this one, though. I thought spraying grey primer before I spray painted it with 2 coats of chalkboard paint would be good enough. Not good enough. You could see the particle board through the paint. It didn't look good. So I slopped on a thick coat of white paint with a roller. This covered up the particle board surface and gave it a nice texture. Then I painted with grey primer (more for the grey undercoat than to prime raw wood at this point) and 2 coats of chalkboard paint. Perfect.
Mr. QTPa2Tee (Youngest Child) was helping me set up, and came up with this brilliant idea: I had planned to just write a message to the teachers on the chalkboards, but he filled a couple mason jars with chalk and wrote a question for the teachers to answer. I can't wait to see what they write. Well done, my young apprentice. (He is really into Star Wars lately. Do I sound like Emperor Palpatine?)
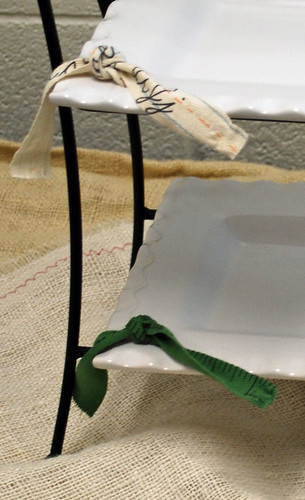
This is the buffet table in the teachers' lunchroom. The mason jars are to hold cutlery or whatever else needs to be held. I have a thing for mason jars and jelly jars lately.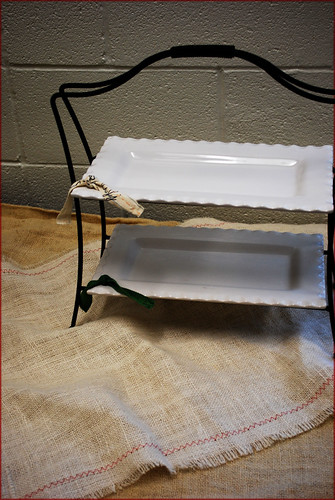 Here is my Southern Living at Home server, and I tied it with some school-themed twill from the scrapbook stash. Here's a closeup look:
 I covered the buffet table with a big piece of white burlap. For those of you who read my burlap post and helped me with my problem, thank you, thank you. For those of you who didn't read it, my burlap smelled like it pumped gas at Shell all day. I washed it, Downey'd it, left it outside in the sun and rain, washed it, bleached it, and let it soak in vinegar (I still have to try lavender sachets). Yep, it was that bad. Here's what I learned: Don't buy burlap at Ben Franklin crafts. It STINKS. I went to Wal-Mart and bought more burlap to make the table runners, and that was much better. The quality was better, the color was better, and it didn't smell. Imagine that. We have lame craft stores here in Northern VA. And don't even get me started on the subject of Hobby Lobby. That is the greatest craft store ever, and there is not one in my state. Not fair. Stomp feet. I digress again.
 For the 2 teacher tables, I used a big, long piece of white burlap. Since there were 2 tables, 12 feet long, I made table runners out of the 1 piece of burlap to save money. I chopped it in half lengthwise, and I stitched each side with red zigzag so it doesn't fray too much. and the zigzagging looked cute. The table runners were actually a bit too long, so I chopped off the ends, and stuck the pieces right on the buffet table.
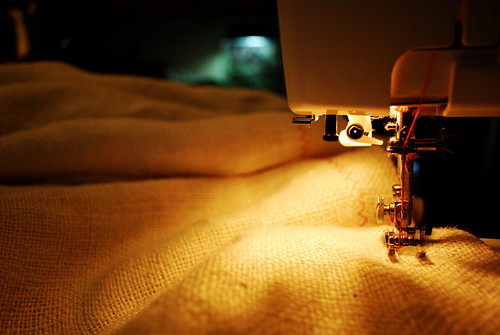 Here's me playing with my camera. I have a question for you bloggers: Do you find yourself wanting to take pictures of everything you do so you can blog about it? Or wish you had a keyboard on your steering wheel so the post you thought of while you were driving doesn't get lost? It's an illness, I'm sure. I digress again. Distraction is an illness, too. I'm sure of it.
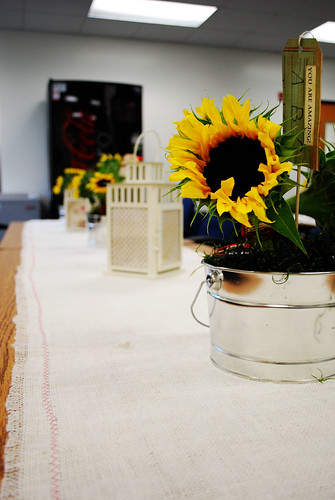
 Next up are the lanterns, ala Matthew Mead. Ikea lanterns, about $6.something each. Great price.
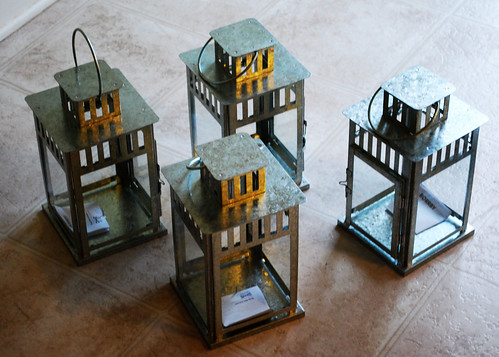 I didn't have any white primer, so I painted them all over with cheap white paint. Then I painted them with heirloom white. Matthew says to use 2 sides of his download, back-to-back, and tape to the outside. What I did instead is used 1 layer of my scrap paper, and I put it behind the glass under the little prong thingies that hold the glass in. No need for tape. *BUT* if you plan on using candles, tape the paper to the outside for obvious reasons. I can't burn candles in the school anyway, so it didn't matter. I have a wild child, so I'm not really a big fan of leaving fire where he can reach it anyway, so I'm experimenting with other methods of lighting up my lanterns.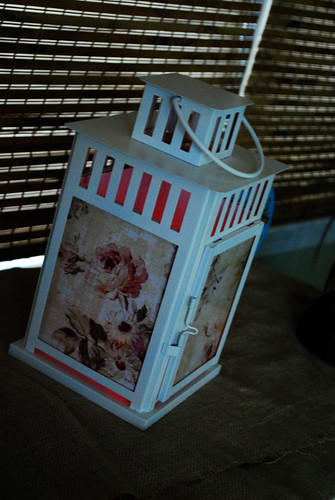
When I get my hands on some battery-powered twinkle lights, I'm going to try filling the lantern with that.
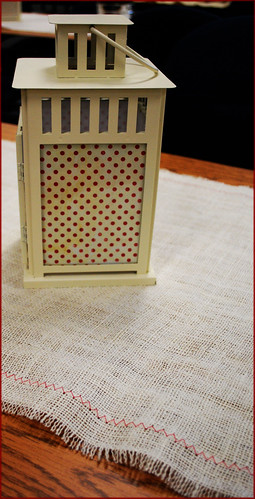 2 lanterns with floral paper, 2 with polka dots.
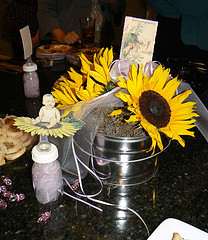
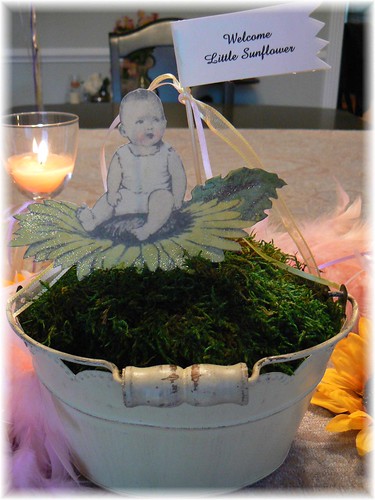
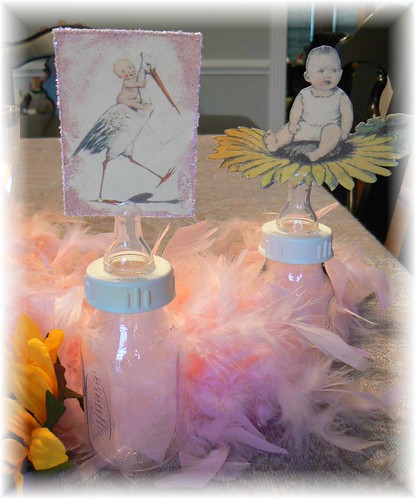
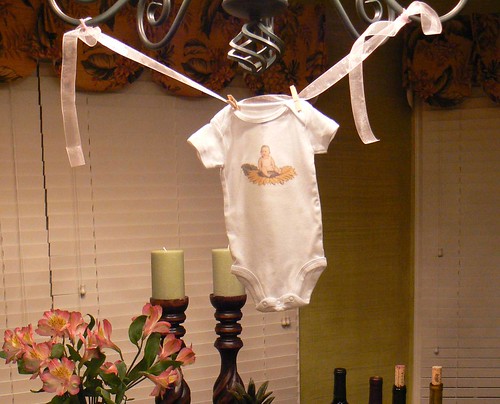
 Next up, flowers. I just did a repeat of the flowers I did for this baby shower. I should come up with something new. I bought plastic containers to go inside the not-water-sealed tin buckets. Add a chunk of oasis soaked in water, 3 flowers, a bit of moss. I tied the flowers with some raffia and ribbon (bigger ribbon would have looked better, but I was getting stingy with the coin), and stuck a pick in it.
 I made all these picks with shish kabob skewers and tags that had vintage images and buttons glued on. It would have looked great with zigzag stitching across the tag, but I made the tags 10 minutes before I was supposed to leave for the school with the flowers. Not enough time.
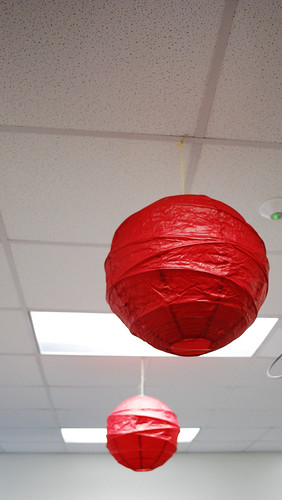 I hung some lanterns from the ceiling.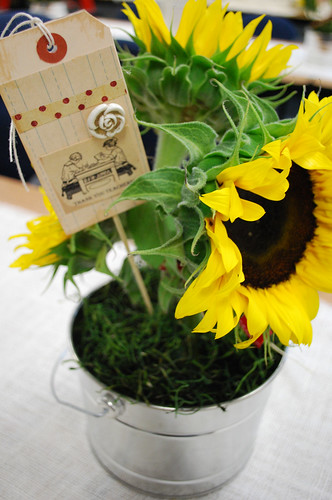
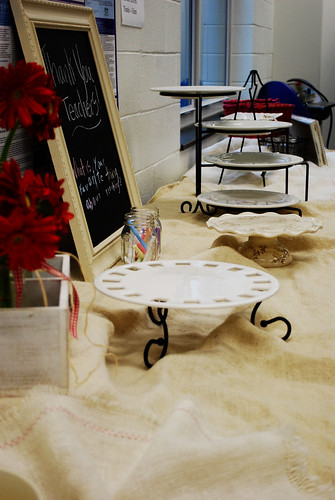 You can't really see it well, but right here at the end of the buffet, I stuck a box under the burlap. You can put different size boxes under your table cloth, and it makes the buffet look soooo much better. Stick some tinkle lights under that cloth, too, and it looks like a caterer came to your house.
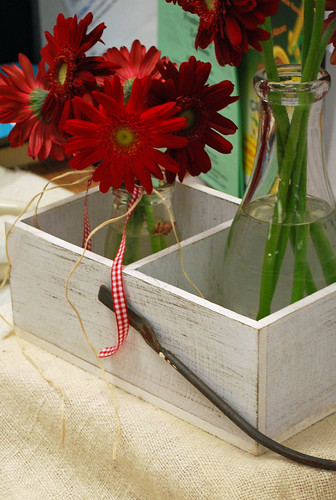 I tend to use the same things over and over at parties. I add a little here and there to my collection. Things that are cheap, but add a lot of style. Like these old vintage milk jars. They always look good with flowers. I may get some more of those Ikea lanterns before they stop selling them. You can change the scrap paper for different events. Buy a case of mason jars or jelly jars at Wal-Mart. You can do all kinds of things with those babies. Put all of the jars right down the middle of the table with candles. If you use a lot of the same thing, it looks amazing. I'm a fan of tin buckets, too. And you can bet that burlap will show up at more events.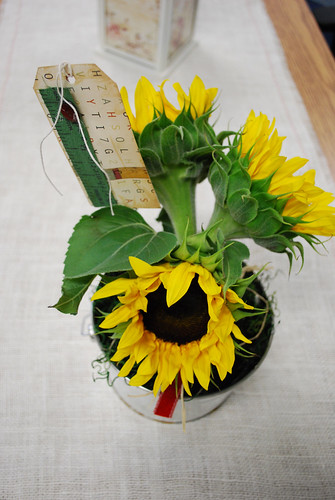
So that's it for me. To see more inspiration, stop by Kimm's blog and see the other Trash to Treasure Tuesday entries.







 . It has a lot of recipes for beauty products that they can make with things from the kitchen.